Quick2Print workflow
Quick2Print moves each product through four clear stages.
- 01
Quick2Print connects your providers
We connect one brand to its WooCommerce store and Printful account, then show any setup that still needs attention.
- 02
Quick2Print saves the product setup
We import a synced product, use a Printful catalogue item or validate a JSON template, then save the chosen product defaults.
- 03
Quick2Print combines artwork and setup
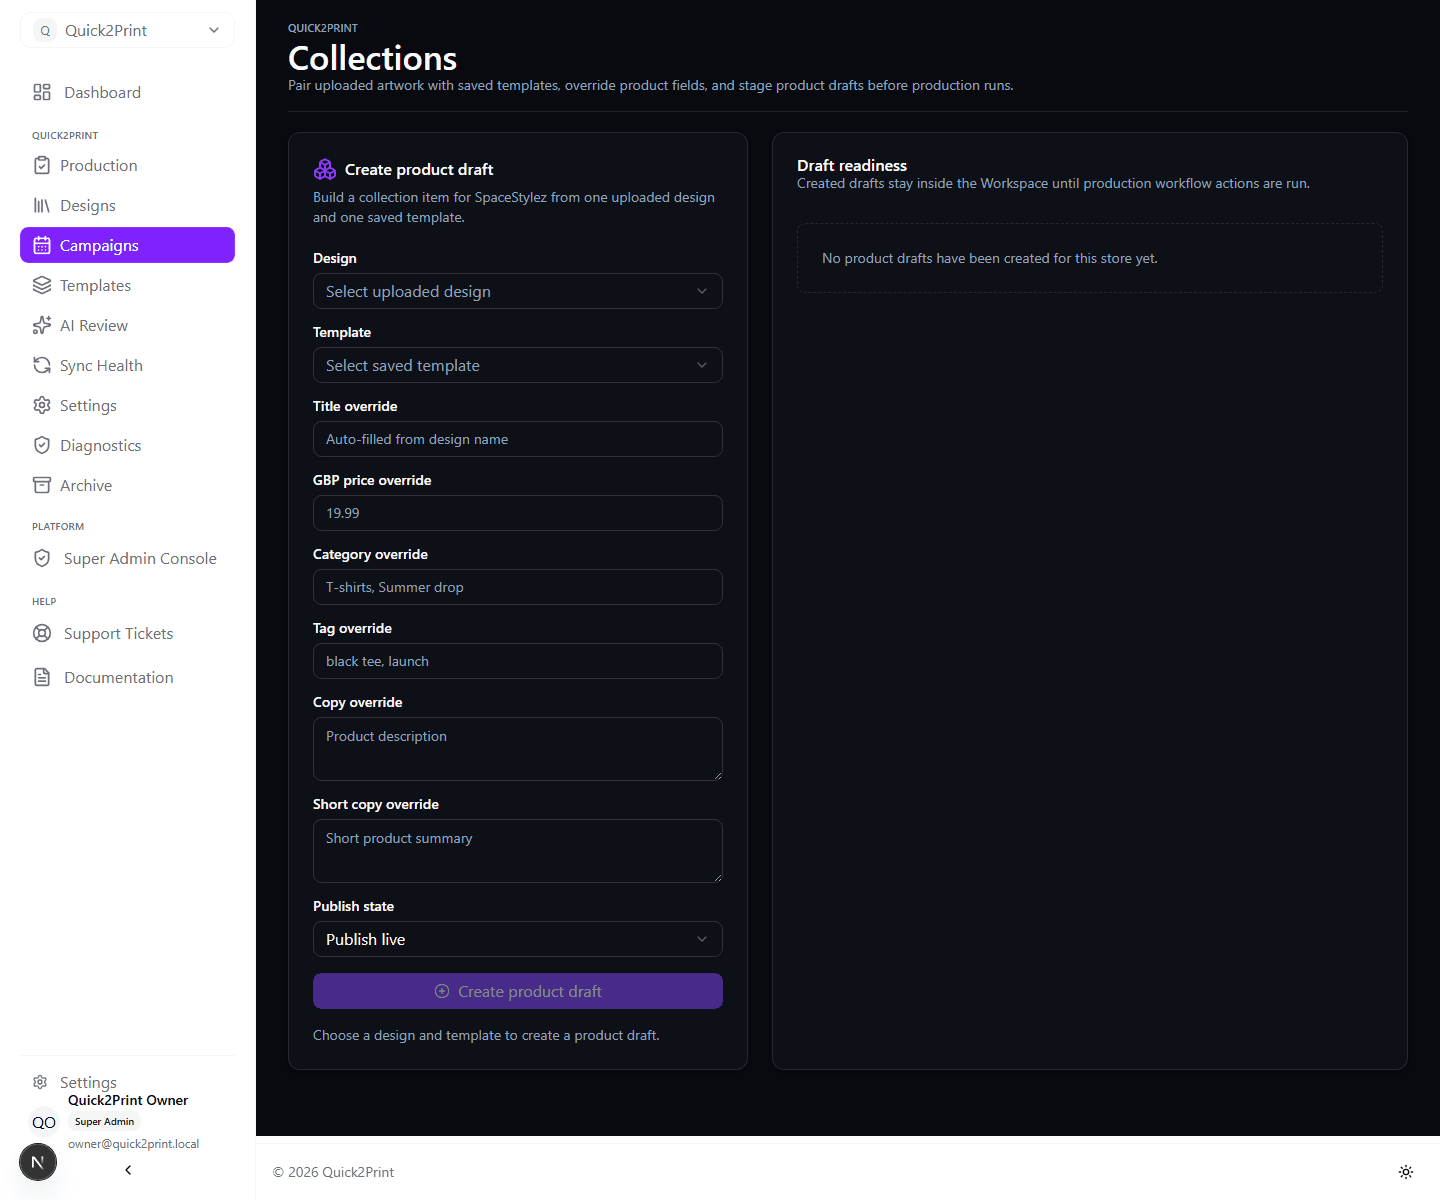
We pair approved artwork with the saved template and show the generated product data before creation.
- 04
Quick2Print controls the release
We create a draft, publish an approved product or schedule its release, then synchronise print files and mockups through Printful.
Step 1
Import templates from synced products, catalog items, or JSON.
Step 2
Upload artwork and apply saved placement, variant, and pricing defaults.
Step 3
Create WooCommerce drafts, live products, or scheduled releases.
Step 4
Sync Printful print files, generated mockups, and final store data.
Quick2Print beta
Quick2Print gives you 14 days to test a real product workflow.
We let you choose a plan, connect your providers and test the production process before the subscription charge begins.